Rostra Cruise Control on a 2007 Tacoma with a Manual Transmission - #@!!#!$

I've had my 2007 4x4 Toyota Tacoma now for about 8 years and lived without cruise control since then. It's about as basic a truck that you can own - manual transmission, manual windows, single-cab, but it did come with A/C (a must here in New Mexico). I've taken it on a few moderately long drives in the southwest, but not too often. Lately, however, the trips are becoming more frequent - all for fun. This has led me to desire the addition of cruise control for my little Taco, and thus the following post, for which I hope helps clarify the mysteries of adding cruise control on a this specific model, and mostly a model with manual transmission. My reason for this post is that I could not find any succinct information from Rostra, or online, describing the clutch disengagement switch installation for the manual transmission Tacoma. Below are the steps that I followed to get the Rostra cruise control kit operational on my 2007 Tacoma. They come without warranty and, if you follow them, you do so at your own risk. Mileage may vary - no pun.
In summary, the cruise control switch was easy to install, and if you own an automatic transmission, that is all that is necessary from what I read online. Installing the cruise control clutch disengagement switch, however, was a pain-in-the-ass, mostly because of the confined space where you need to work, but also because of poor and conflicting information in the manuals. In the end, I would do it again to gain the convenience of cruise control, which will pay for itself in the long run on any road trip of duration.
Background
I purchased the Rostra cruise control kit (250-1836) and clutch disengagement switch (250-4206) from RedLine360. The purchase process and shipping was very good - no issues with RedLine360. What is important here is that my Tacoma is a manual transmission, which requires the use of a clutch disengagement switch – well, not exactly – but for safety's sake, you should install the switch (more about this later). After reviewing the cruise control kit and the clutch disengagement switch products, I decided to break up the installation into three steps: (1) cruise control switch on the steering cluster, (2) clutch disengagement switch, and (3) wiring up the disengagement switch. Full disclosure, the divisions occurred after installing the cruise control switch.
Step 1: Steering cluster cruise control switch
Installing the cruise control kit (specifically, only the cruise control switch) was very simple and clearly outlined in this YouTube video. For this reason, I'll not belabor this step. I will say, however, that the video shows two connector sites in the steering wheel cluster, whereas my Taco only had a single connector. The original connector contained a single ground wire. The cruise control connector contained both the switch wiring and a ground wire, so the existence of the ground remained within the connector. As the video explains, once the cruise control switch is in place and the steering wheel cluster is put back together, turning the ignition switch to "on" and pressing the cruise control switch should result in the "cruise" light coming on in the instrument panel. YAY! My Taco was pre-wired for cruise control. Total time for this step was about 15 minutes. Unfortunately, my test drive indicated that the cruise control module was not functioning even though the indicator light was lit. My assumption was that the clutch disengagement switch was somehow blocking the cruise control operation – I was right.
Step 2: Clutch disengagement switch
The clutch disengagement switch is a simple binary (off/on) switch that either opens or closes the cruise control clutch circuit. The switch itself (see Fig 1) is enclosed within a

threaded bolt that is a direct replacement for the OEM clutch stop bolt (as outlined in the instructions; some web-based comments noted that the clutch disengagement switch threads did not match those of the stop bolt mounting bracket nut). Although the Rostra instructions for installing this switch are pretty accurate, they fail to describe the difficulty of accessing the stop bolt mounting bracket, which is located above and on the left-side of the clutch pedal. In my case, I could only use one hand to manipulate any operation in the bracket area. Before attempting to replace the stop bolt with the clutch disengagement switch, move the clutch pedal forward and secure it using cable ties (Fig 2). Once the

mounting bracket is accessible, I used a short 14mm wrench to loosen the OEM stop bolt and then unthread it with one hand. I only estimated the extension of the stop bolt to simulate it with the clutch disengagement switch. With the stop bolt removed, I gingerly threaded the clutch disengagement switch into the bracket nut (the nut itself is spot welded to the bracket). Threading the switch into place with one hand was very difficult - this required about a dozen attempts, mainly because the wiring pigtail on the top of the switch became entangled as it spun within the very confined space – to facilitate threading, I had to keep pushing the pigtail up so that it was as vertical and inline to the bolt direction as possible. Finally, I used one of the provided nuts to lock the switch in place (Fig 3). This step required about 2 hours to complete.

Step 3: Clutch disengagement switch wiring
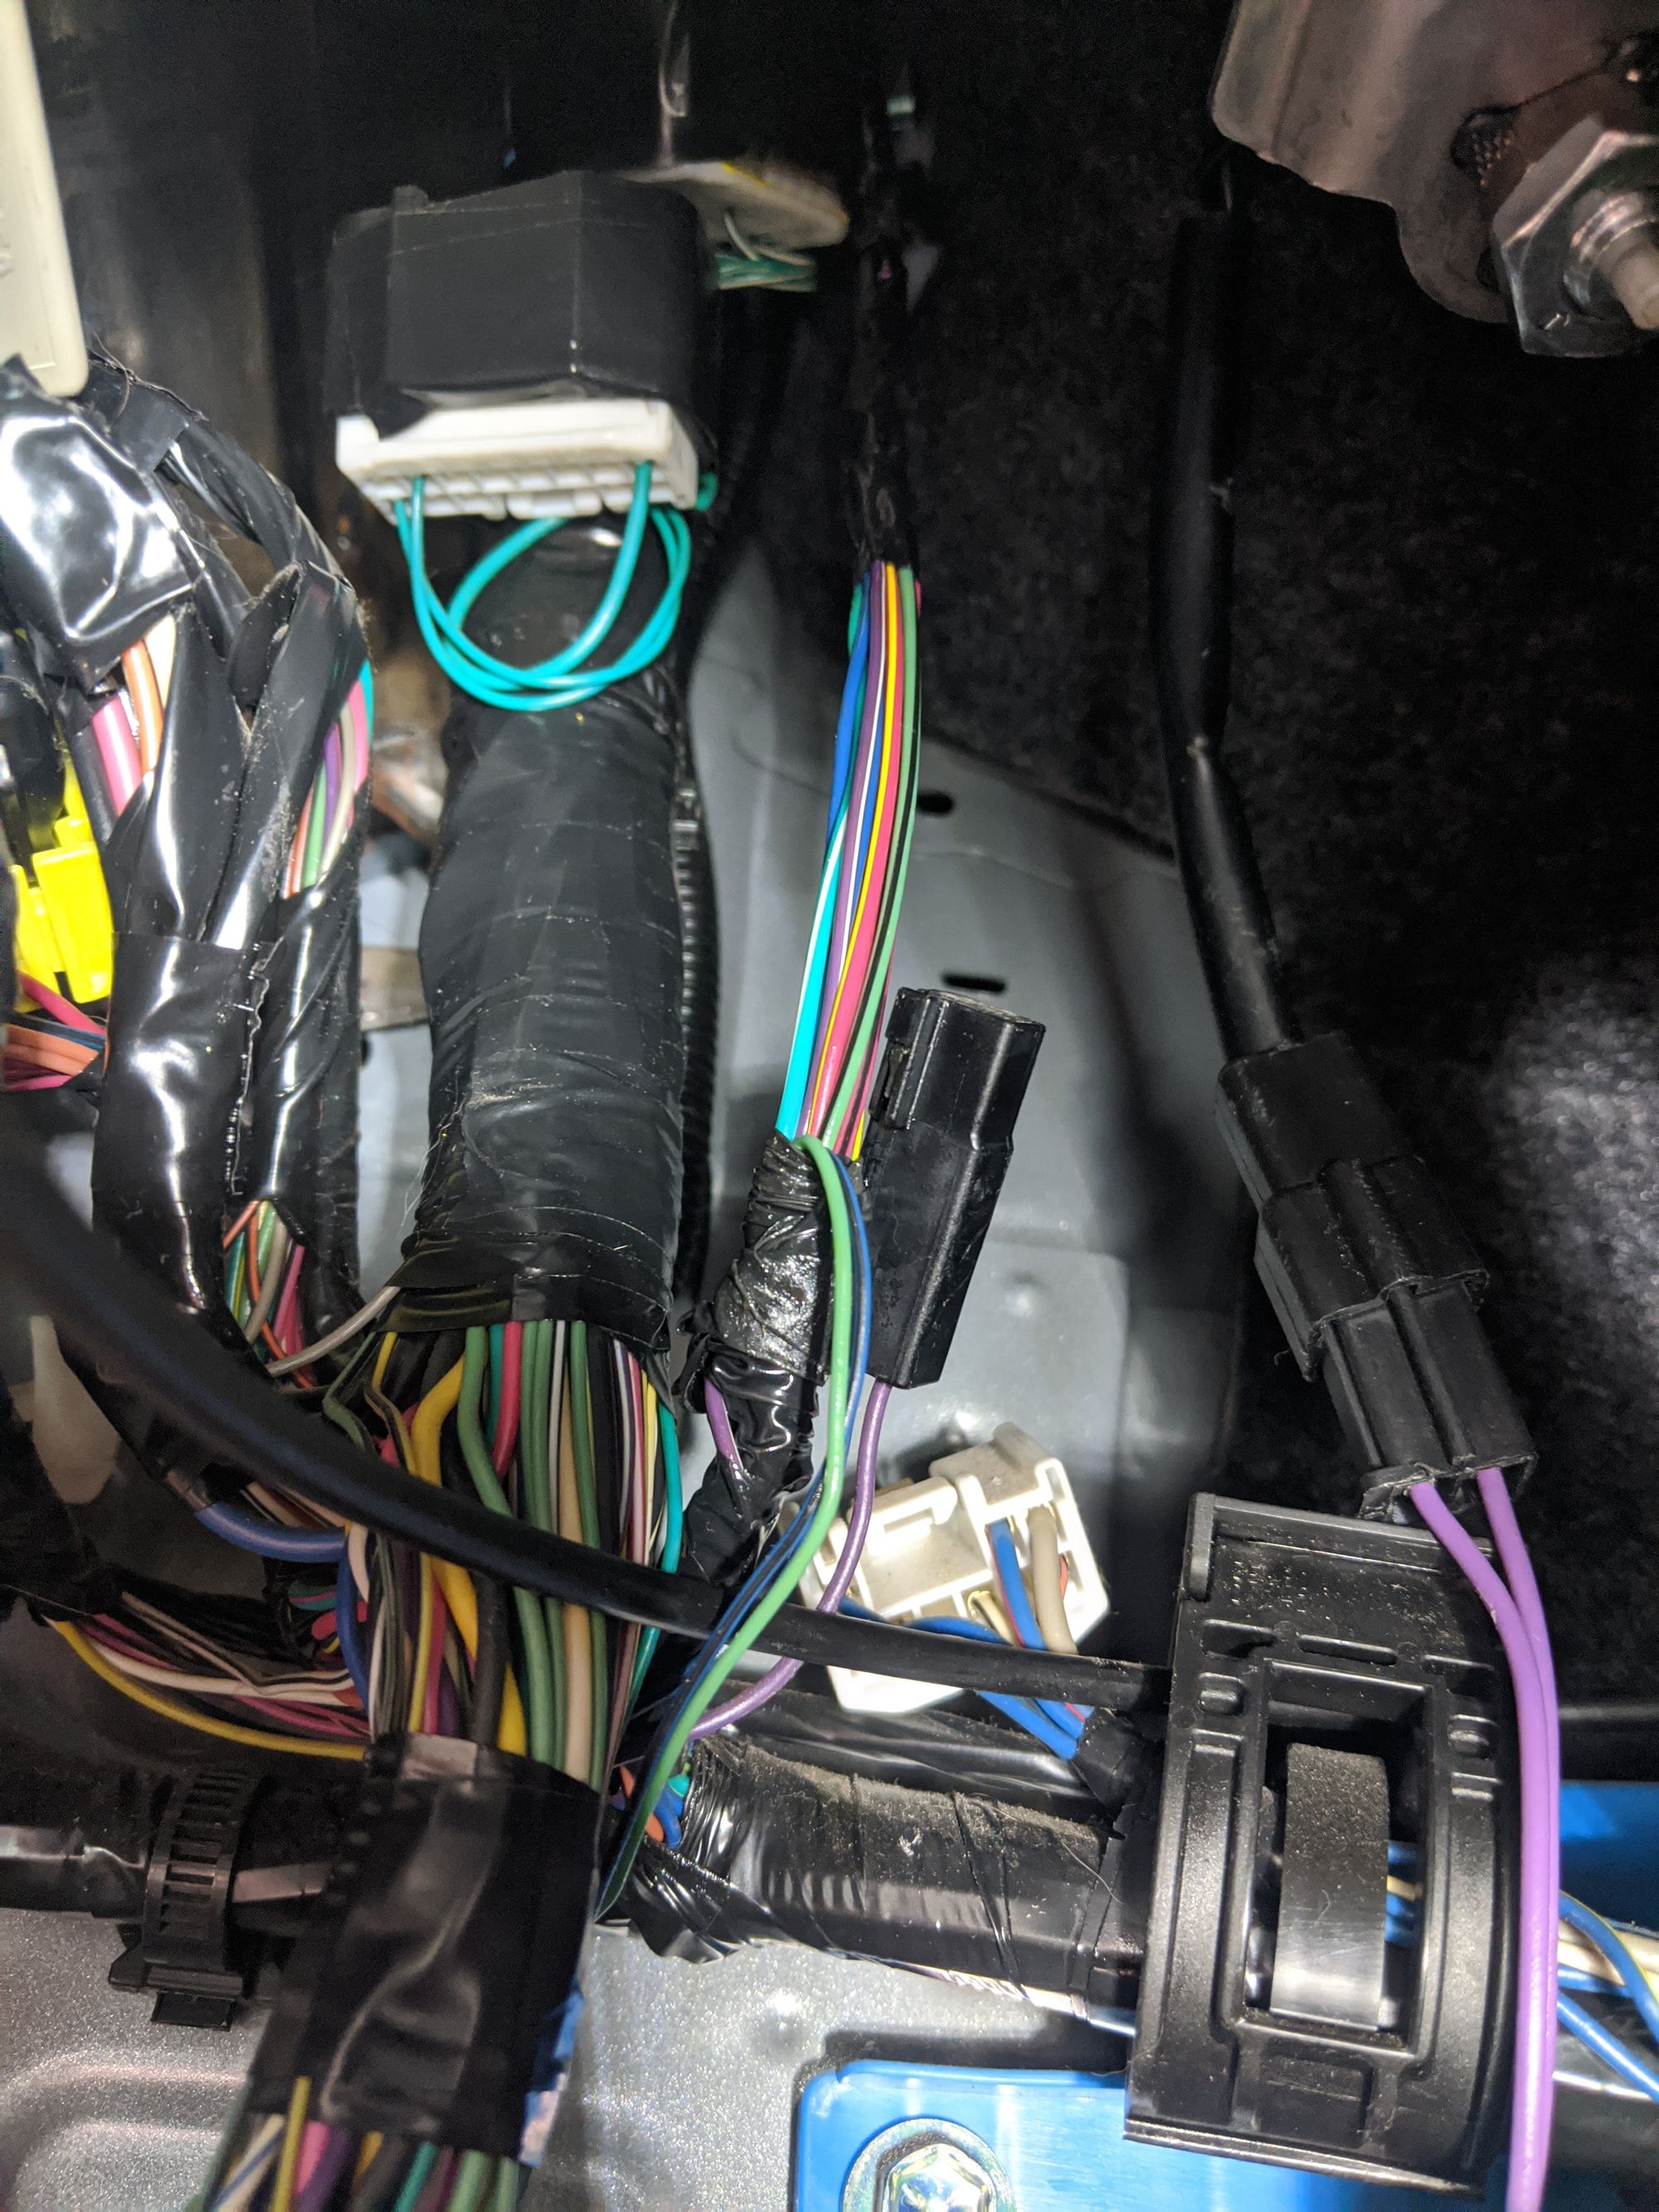
Although wiring the clutch disengagement switch to the cruise control clutch connector was difficult, again due to the confined space, I had greater frustration with the instructions provided by Rostra for performing the connection – there were two separate cruise control kit manuals for the Tacoma that had different wiring instructions, and the manual that came with the clutch disengagement switch showed a non-legible diagram that pointed somewhere under the dashboard, along with schematic diagrams that don't really relate to what you see under the dashboard. The key elements for finding the correct connector was found in one of the cruise control kit manuals (Fig 4). It clearly stated to look for the light green and light blue wires in the connector (Fig 3), and this diagram I found online that pointed to C16 (the Cruise Control Clutch Switch), gave me enough information to look in the right area. I also read an online comment about carefully cutting the connector out of the taped harness to better expose it, and this was evident in the connector that I saw.

All of these tips gave me the confidence to test the connector by jumping the circuit (closing the circuit) with a simple loop-back wire. To do so, I first cut the tape holding the connector to the main harness and then continued to untaped it enough to pull it down further so that I could more easily insert the loop-back wire (Fig 5). Prior to this, I tested the clutch disengagement switch with a circuit tester to determine the circuit state when the switch was depressed: it showed that when the clutch is engaged (pedal-up) and the switch is depressed, the circuit is closed, so I assumed that by jumping the connector's circuit, it would simulate an engaged clutch. Sure enough, on a quick roadway test, the cruise control operated as expected. So, this also demonstrated that you could simply by-pass the clutch disengagement switch by jumping the cruise control clutch connector. I do not recommend this. On the roadway test, I depressed the clutch pedal to disengage the clutch and the cruise control module revved the engine more than I expected, which scared the crap out of me. With an operational cruise control confirmed, I further untaped the wires

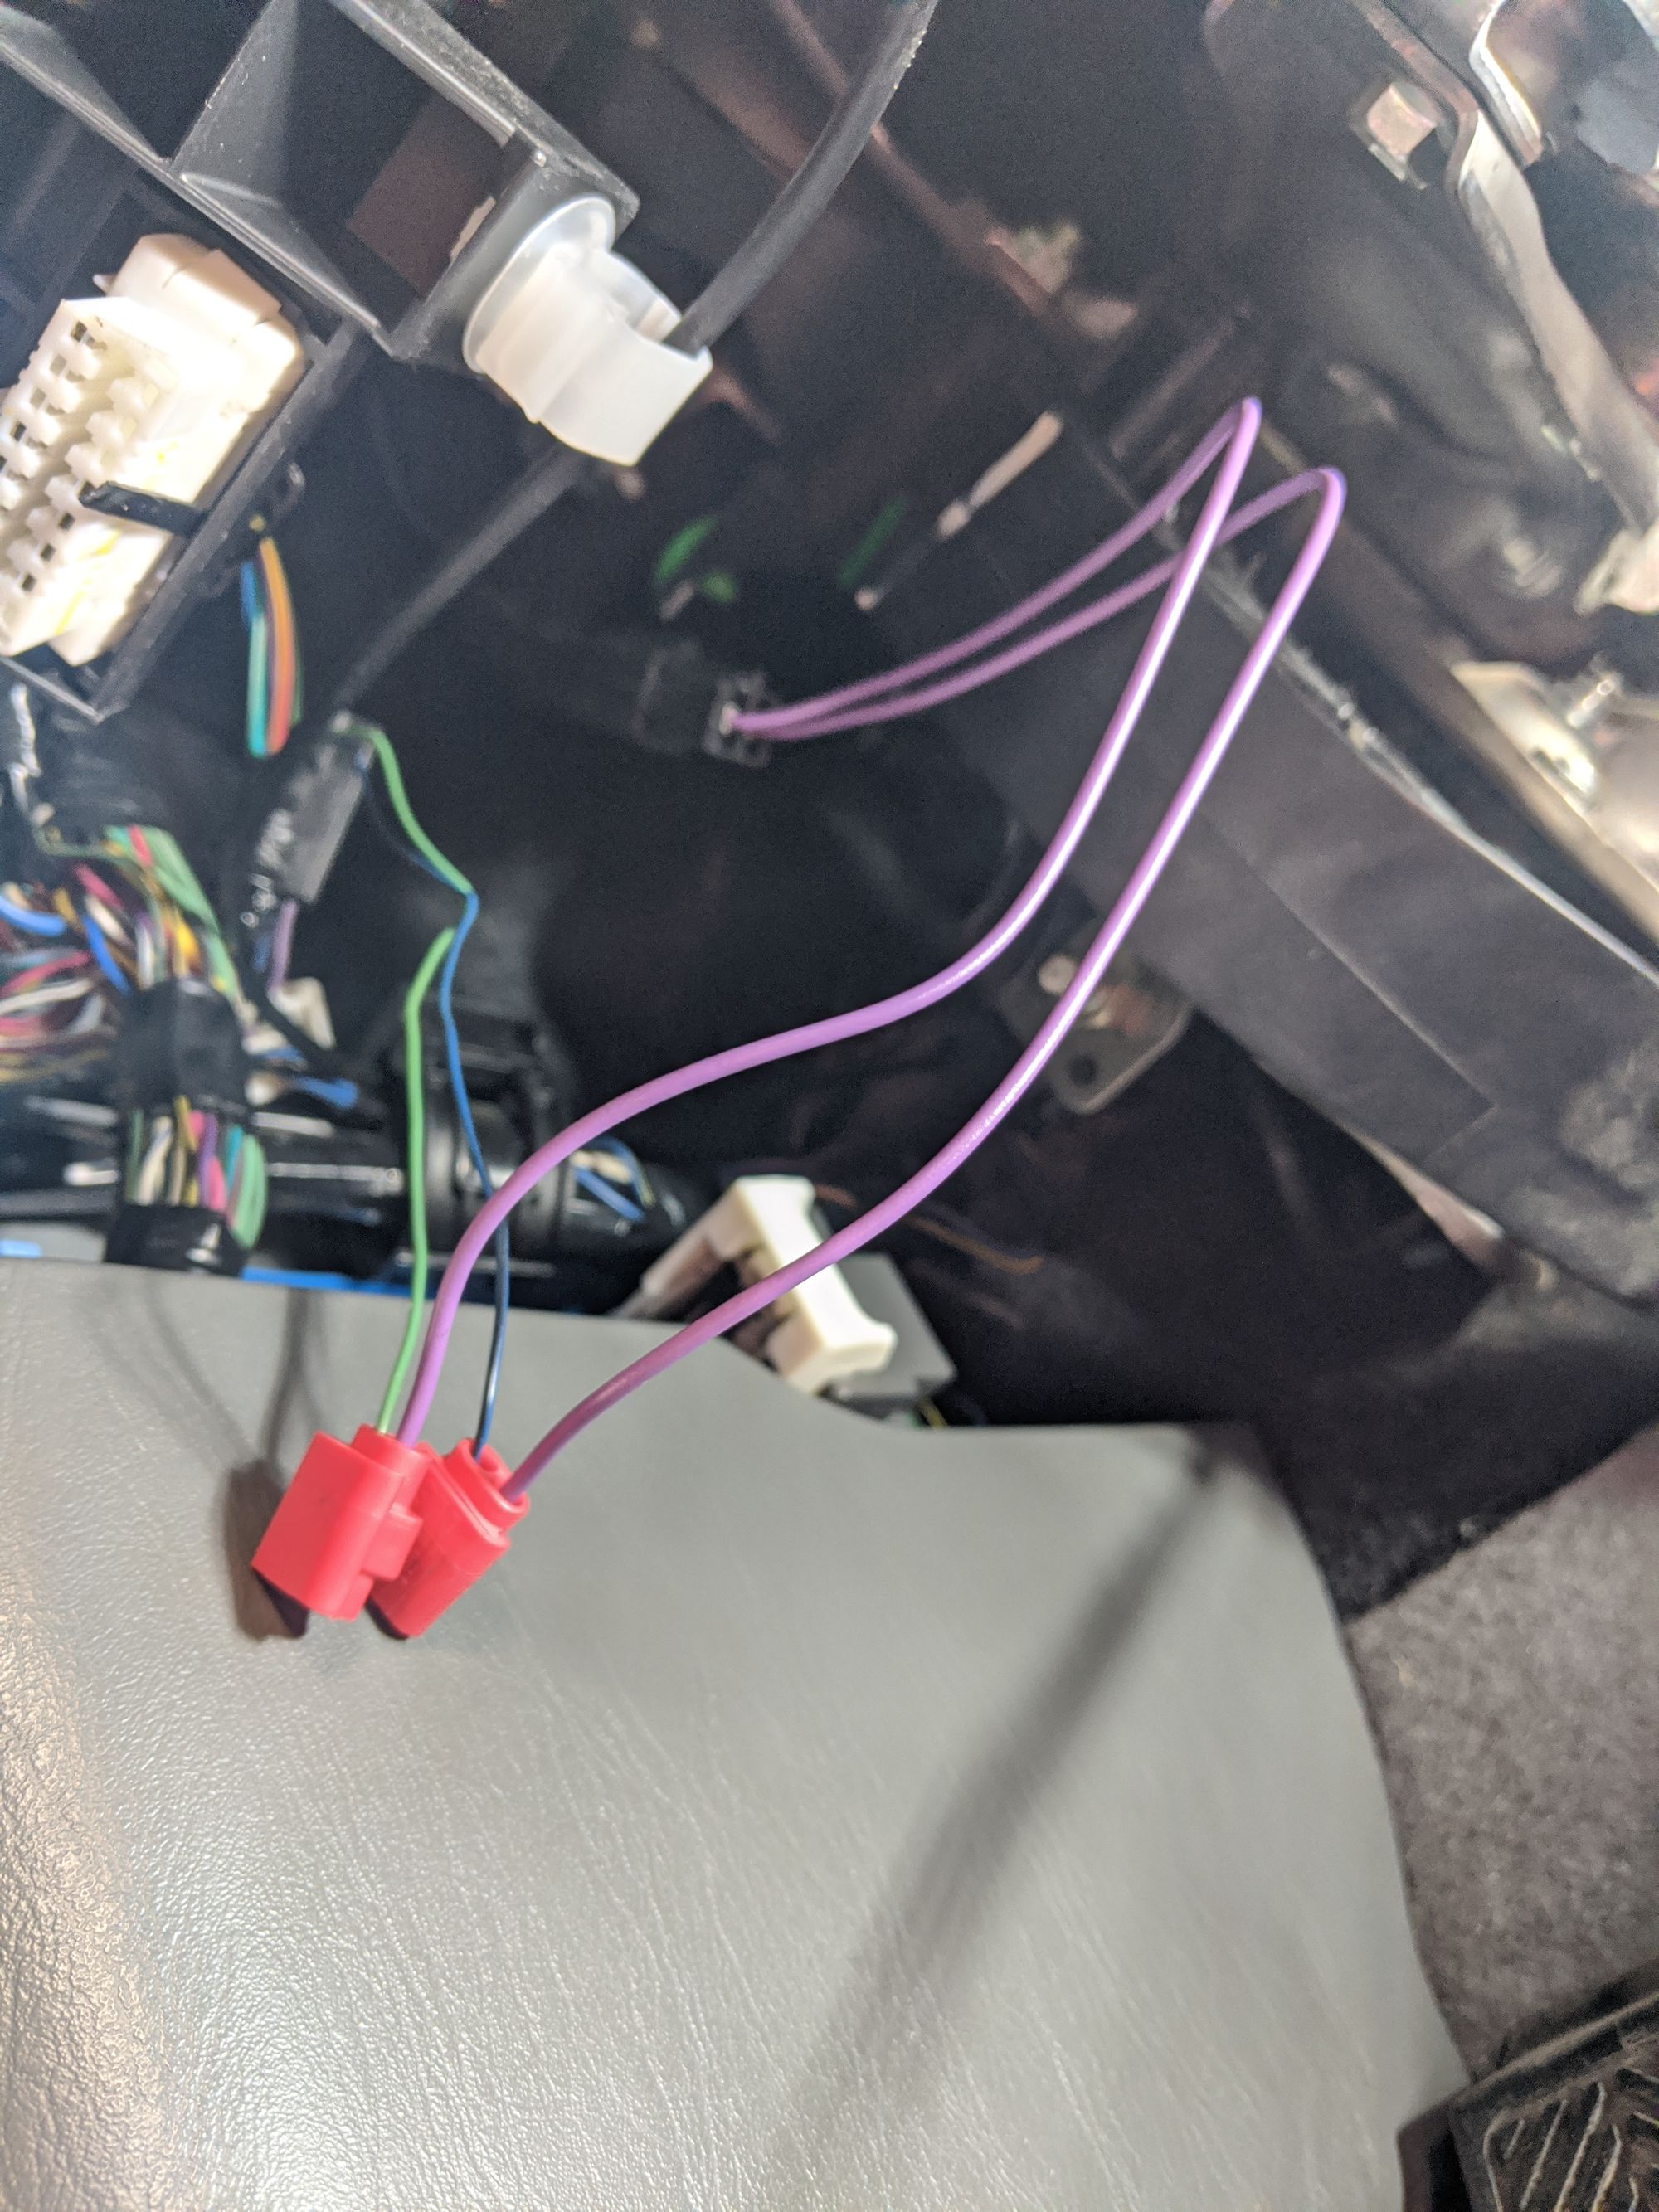
of the cruise control clutch connector so that I could perform the connection with the provided red t-taps using both hands (Fig 6). After the connections were made (Fig 7), I taped the t-taps together to keep them from getting snagged, tucked them into the side molding compartment forward of the driver-side door, and took the Taco out for a final test drive. With everything in place, the Rostra cruise control kit now works flawlessly. This last step required about 2 hours.